
Into the Details: A Photographer’s Guide to Macro Photography & Essential Gear
In a world saturated with sweeping vistas and dramatic scenes, there lies a quiet power in the unseen, the texture of a petal, the curve of a dew drop, the sublime abstract details hidden in plain view. Macro photography invites us into this hidden universe, where the smallest subjects become monumental through the lens.
But capturing the intimate grandeur of tiny subjects requires more than just a good eye. Macro photography is a genre that thrives on precision, patience, and the right tools. This article explores the fundamentals of macro photography and outlines the specialized equipment that makes it possible.
What Is Macro Photography?
At its core, macro photography is the art of photographing small subjects at close range. The defining feature of macro work is the ability to achieve life-size (1:1) magnification or greater, meaning the subject appears on the camera’s sensor at the same size it exists in reality, or larger.
Though flowers and insects are common subjects, macro photography can reveal fascinating textures and forms in everyday objects, rust, paper fibers, crystals, even food. The genre bridges science and art, blending technical execution with poetic visual storytelling.
Why Specialized Equipment Matters
Unlike general close-up photography, true macro work demands precise focusing, minimal depth of field control, and optics that can resolve fine detail. Attempting macro photography with a standard lens often results in subpar sharpness, limited magnification, and frustration.
Let’s explore the essential gear required to truly unlock the macro world.
1. Macro Lenses: The Gold Standard
A dedicated macro lens is the most important piece of equipment for macro photography. Unlike standard lenses, macro lenses are optically engineered for high-resolution performance at extremely close focusing distances.
Key Features of a Macro Lens:
1:1 Magnification Ratio – The ability to render subjects life-size on the sensor.
Flat Field Design – Reduces distortion and ensures sharpness across the frame.
Longer Focal Lengths – Provide more working distance between camera and subject (e.g., 100mm vs. 50mm).
Recommended Macro Lenses:
I only recommend gear that I’ve personally used in my own work, though comparable equipment is available from other camera manufacturers.
Canon EF 100mm f/2.8L IS USM Macro
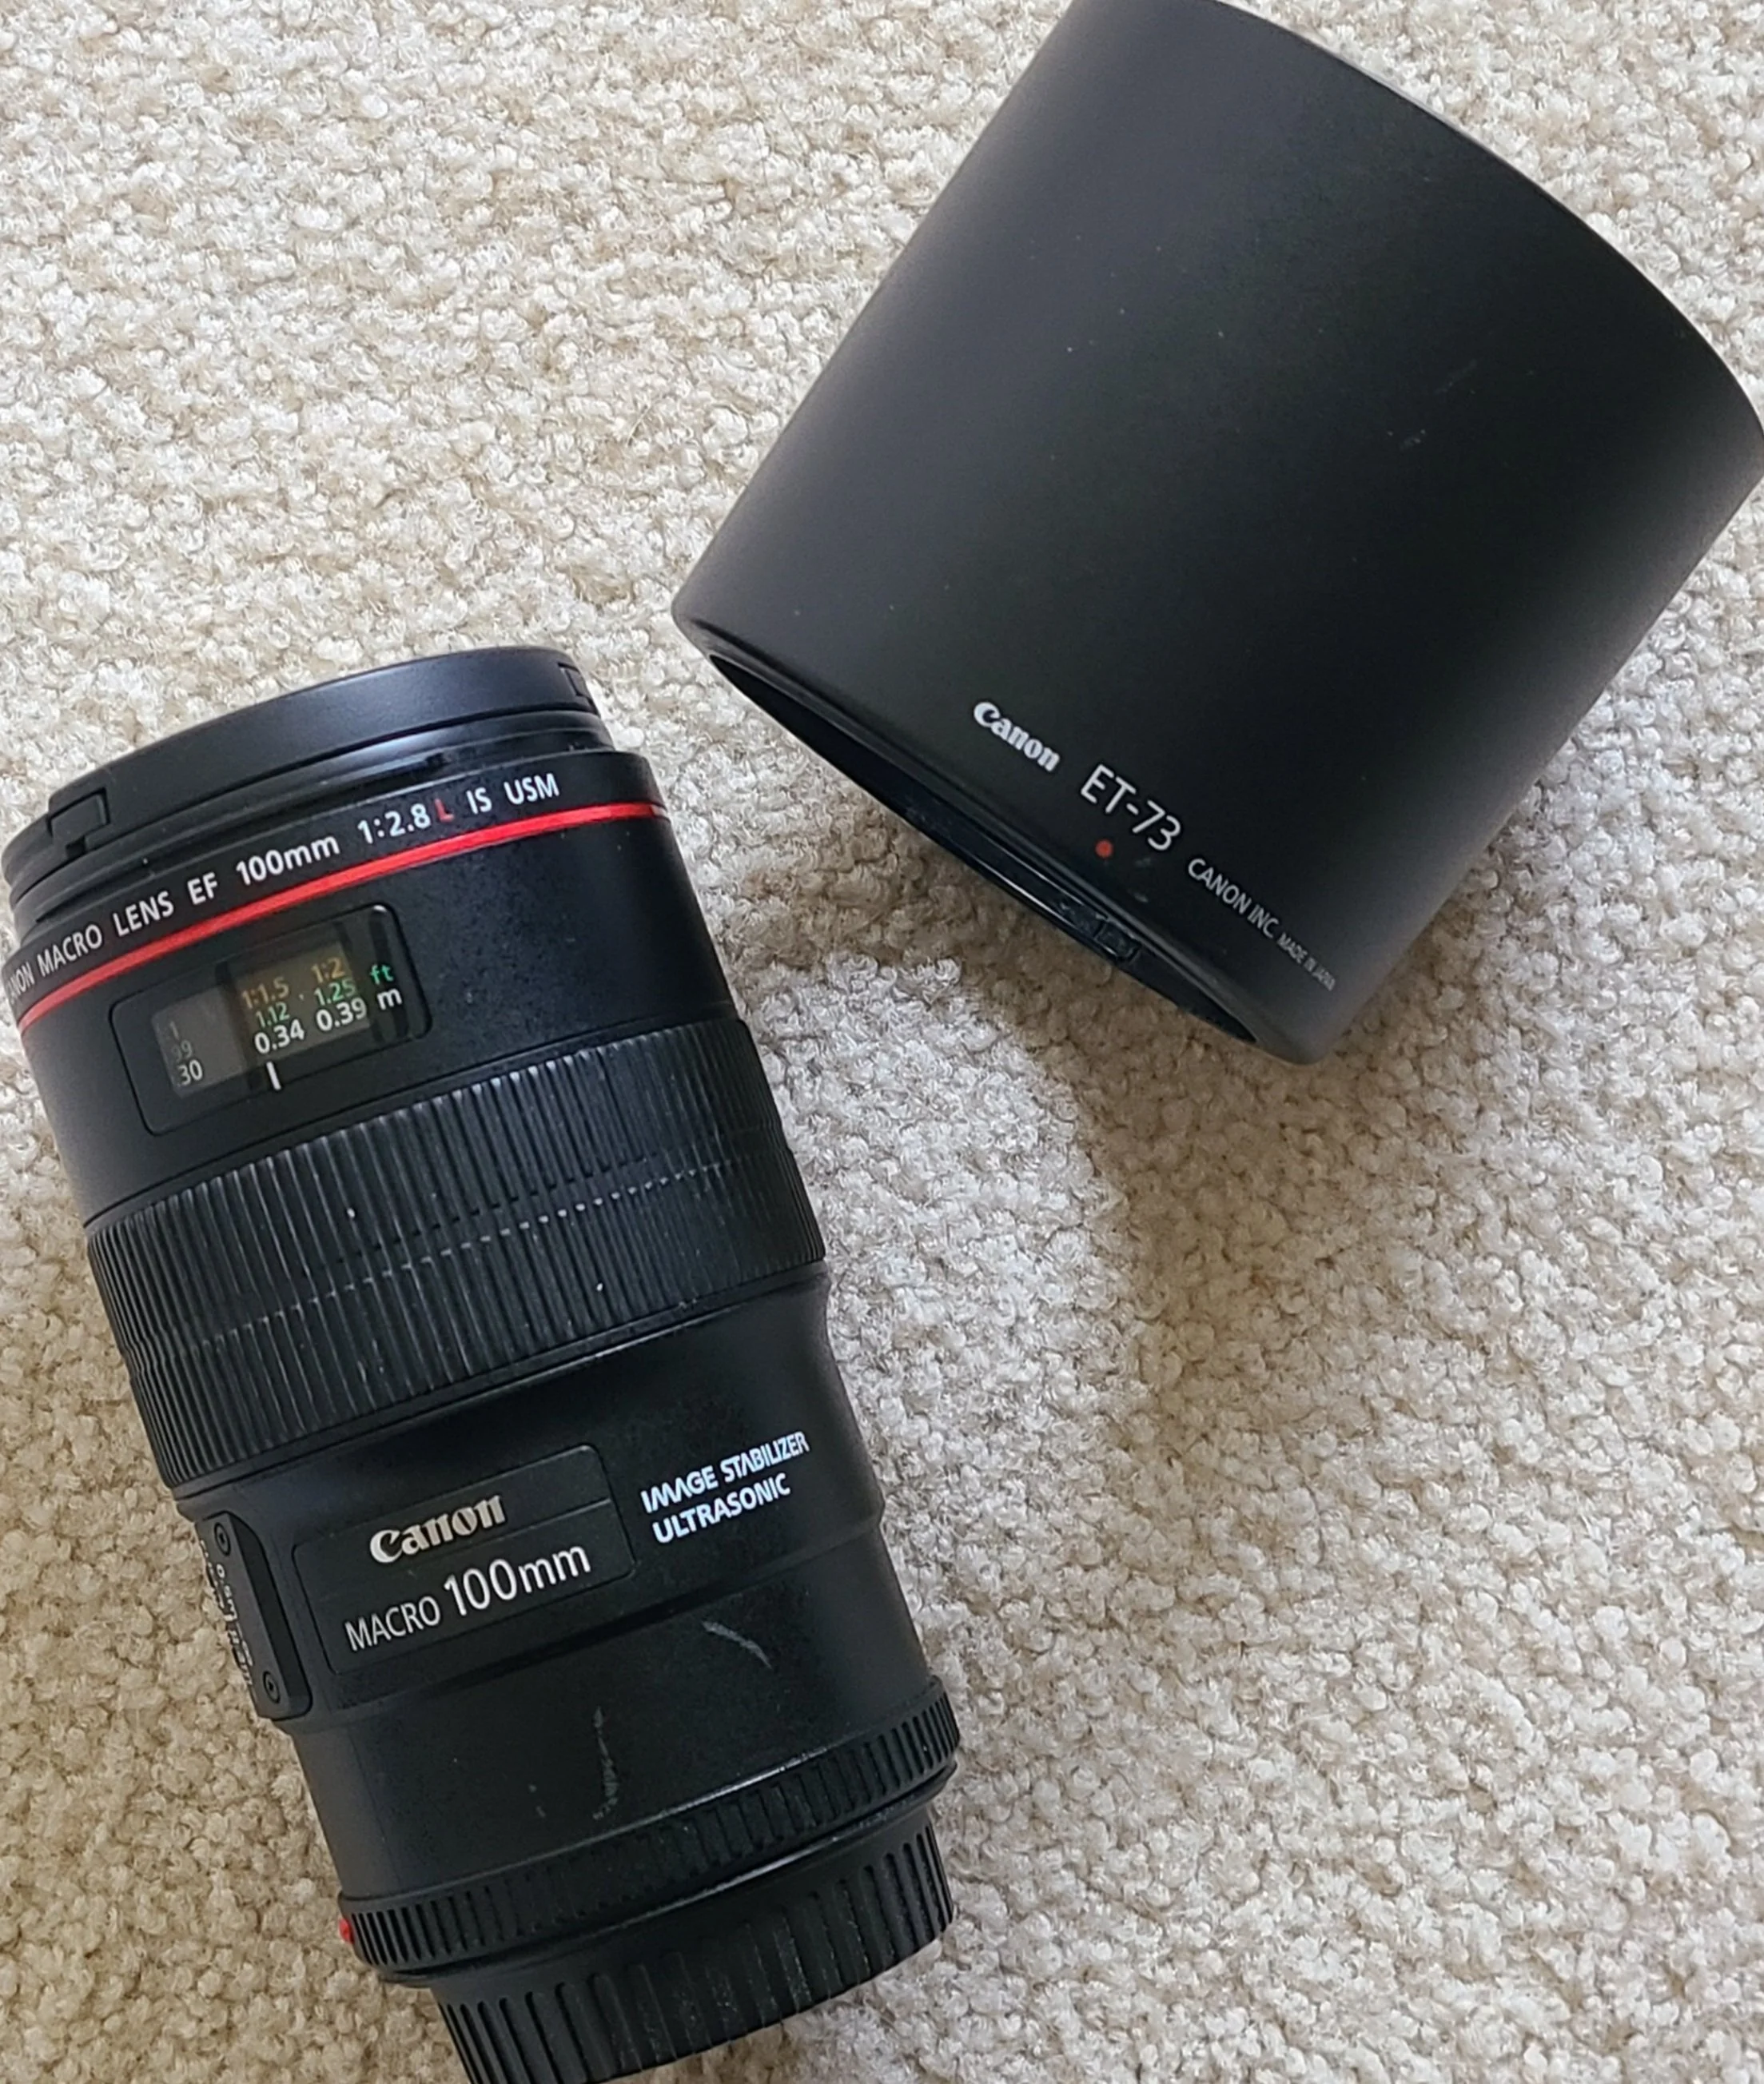
Why I recommend it. The details are incredibly sharp with superb color rendition, flare control and Bokeh. The lens is also light weight at around 1.5 lbs so handling it isn’t a forearm killer.
More details: Designed for close-up imagery, this autofocus lens is an ideal choice for portraits and macro subjects. Featuring a fixed 100mm focal length, a bright f/2.8 maximum aperture, fast, highly-precise autofocus, and a spherical aberration control ring, this lens elevates the look of portraits and macro shots and gives you the ability to create dreamlike and romantic images with a soft focus look.
2. Extension Tubes and Bellows: Closer with What You Have
If you're not ready to invest in a macro lens, extension tubes are a cost-effective way to dip your toes in. These are what I use exclusively. Simply put, they are hollow tubes mounted between your camera body and lens to allow extremely close focusing.
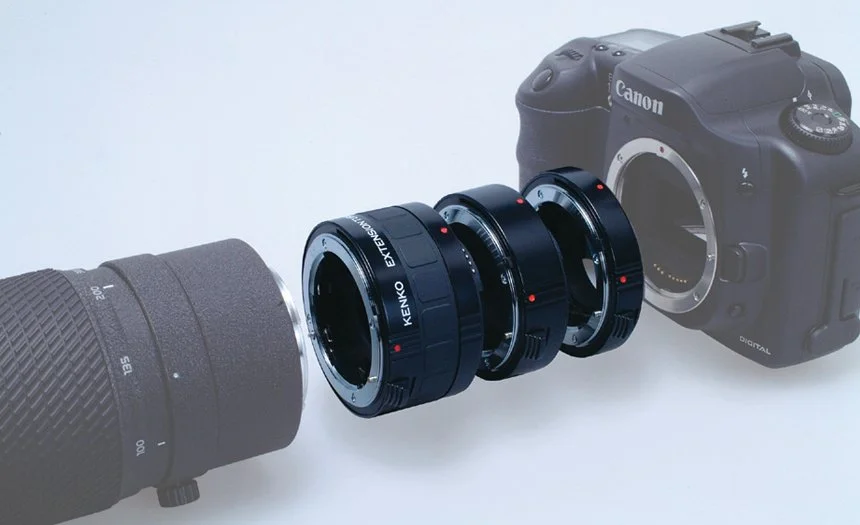
Why I recommend these is simple. There is no additional glass between the subject and the film/sensor to distort or otherwise change the the original optical quality of the lens you’re using.
The extension tubes have no optics. They are mounted between the camera body and lens to create more distance between the lens and film/sensor plane. By moving the lens farther away from the film or sensor in the camera, the lens is forced to focus much closer than normal. The greater the length of the extension tube, the closer the lens can focus.
Pros:
Affordable and lightweight
Maintain image quality (since no additional optics are added)
Cons:
Reduced light transmission (you may need slower shutter speeds or higher ISO)
Studio photographers might explore bellows systems, which offer adjustable extension lengths but require more patience and setup time and are not (in my opinion) that easy to use in the field.
3. Reversing Rings and Lens Reversal Techniques
For experimental or budget-conscious photographers, reversing a lens is a surprisingly effective way to achieve extreme macro magnification. A reversing ring allows you to mount your lens backward on the camera body. I have seen remarkable results with a 50mm lens reversed useing one of these
Pros:
Very high magnification ratios possible
Inexpensive
Cons:
Manual focus and aperture control required
No electronic communication between lens and camera
Limited working distance
This method is especially effective with older manual prime lenses (such as 28mm or 50mm).
4. Tripods and Focusing Rails: Precision and Stability
With macro photography, the slightest movement can ruin a shot. Stability is non-negotiable.
Recommended Stabilizing Tools:
Sturdy Tripod – Look for one with a center column that can be positioned horizontally or inverted for ground-level work.
Macro Focusing Rail – Allows fine, incremental adjustments to the camera’s position without disturbing the setup.
Geared Tripod Heads – Offer precise composition control for still subjects.
These tools are especially important for focus stacking, a technique often used to increase depth of field in extreme macro.
5. Lighting for Macro: Mastering the Micro Shadows
Natural light may not always suffice for macro photography, especially when shooting indoors or in shaded outdoor areas. Because you're working at close distances, even small shifts in lighting can dramatically affect contrast and detail.
Macro Lighting Options:
Ring Flash – Mounts around the lens to provide even, shadowless illumination.
Twin Flash Units – Offer more creative control with adjustable lighting angles.
LED Macro Lights – Continuous light sources that help with composition and are less intimidating to live subjects like insects.
For advanced creatives, small reflectors, diffusers, and flags can help shape your micro-lighting setup like a miniature studio scene.
6. Focus Stacking Software
Depth of field in macro photography is razor-thin, often fractions of a millimeter. To render more of your subject in sharp focus, focus stacking is a common post-processing technique.
What You Need:
A sequence of images taken at slightly different focus points
Software like Adobe Photoshop, Helicon Focus, or Zerene Stacker
Focus stacking merges the sharpest areas from each image into a single composite, offering detail from front to back while preserving macro clarity.
7. Additional Tools and Accessories
Though not mandatory, the following tools enhance your macro photography workflow:
Remote Shutter Release – Prevents camera shake during long exposures.
Plamp or Articulating Arm – Stabilizes subjects like flowers or small leaves.
Viewfinder Loupe – Helps with manual focus accuracy, especially in bright light.
Macro Rails for Stacking – Precision motion is essential when capturing stackable shots.
Weather Protection – Useful for shooting damp environments like early morning fields or waterfalls.
Final Thoughts: A World Worth Discovering
Macro photography slows us down. It asks us to see with care and curiosity, to notice the details we often overlook. Whether you’re chasing the shimmer of an iridescent beetle or studying the layered architecture of a rose, macro work opens new dimensions of beauty.
But it’s not a genre for those seeking instant gratification. The technical challenges are real, but so too is the reward: a visual intimacy that transforms the mundane into the sublime.
With the right equipment, a steady hand, and a reverence for detail, macro photography becomes more than technique. It becomes an invitation, to witness the overlooked, to honor the miniature, and to find art in the most unlikely of places.